Cement Pumpkins DIY: Handmade Autumn Decor with a Candlelit Twist
- Astrid van Essen
- Jul 31, 2025
- 3 min read

Updated: Oct 6, 2025
There’s something deeply satisfying about turning raw materials into something charming for your home — especially when it involves concrete. These cement pumpkins double as rustic autumn décor and candleholders, bringing a handmade touch to seasonal styling.

Whether you're into moody minimalism or playful Halloween vibes, this Cement Pumpkins DIY is surprisingly simple, low-cost, and easy to customise
What You’ll Need:
Quick-set cement or concrete mix
Water
Old tights or stockings
String or rubber bands
Small tealight holder, bottle cap, or shot glass (for the candle indent)
Gloves & bucket
Facemask (safety first!)
Cooking spray or oil (for mould release)
Optional: pigment powder, gold leaf, or acrylic paint
Cement Pumpkins DIY: Step-by-Step Guide
1. Make Your Pumpkin Mould
Cut a leg off an old pair of tights and knot one end. This creates your flexible mould. Spray the inside lightly with cooking oil or silicone spray to help release it later.
2. Mix Your Cement
In a bucket, mix the cement or concrete with water until it reaches a thick, pourable consistency, similar to yoghurt. If you'd like coloured pumpkins, add pigment powder now and stir well.
3. Fill and Flip
Pour the cement mix into the stocking and tie off the open end. Then flip the whole thing upside down so the knotted part becomes the pumpkin’s base.
4. Shape & Add the Candleholder
Use string or rubber bands to wrap around the outside, creating vertical “ridges” — like a real pumpkin. While the mix is still soft, press your tealight holder or insert into the exposed top centre. The pressure from the string helps keep it in place while it sets.
5. Cure and Unmould
Let your pumpkin cure undisturbed for at least 24 hours. Once it's hard, snip and peel away the tights and remove your candleholder insert.
6. Finishing Touches
Lightly sand any sharp areas. You can leave it raw for a minimalist look, or decorate with gold wax, soft paint accents, or a dusting of cinnamon for both colour and scent.
Styling Tips
Group several together in different sizes for a centrepiece
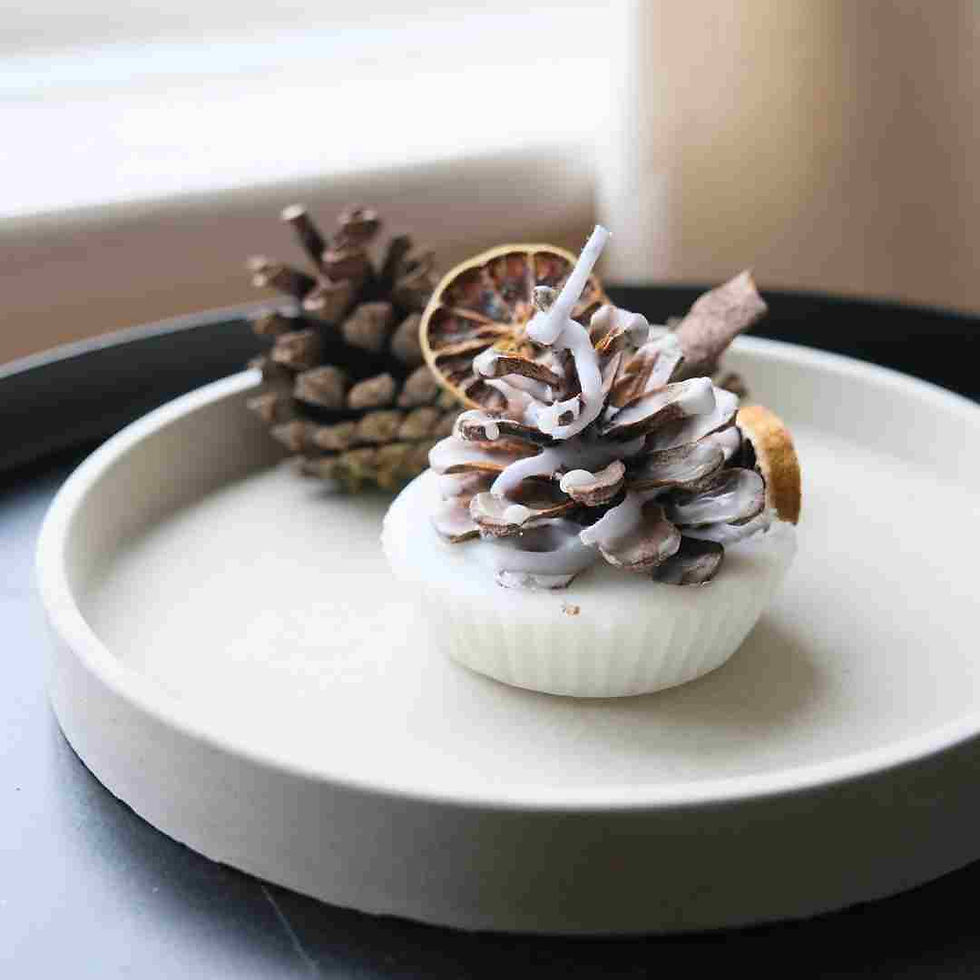
Display them with dried flowers and a concrete tray for a modern seasonal setup
Use scented tealights like cinnamon, cedarwood, or pumpkin spice to enhance the autumn feel
Tips & Variations
Try white cement for a clean, Scandi-inspired look
Add a few drops of essential oil into the cement mix for a subtle fragrance
Make smaller versions for place settings or eco gift toppers
Feeling Crafty? Make Your Own Cement Pumpkin Vase
To turn your cement pumpkin into a vase, simply skip the candleholder insert step and widen the top opening slightly while the mix is still soft. You can use a small plastic cup or bottle to form a smooth, hollow neck as it cures. Once set and unmoulded, the inner cavity can hold dried florals, grasses, or preserved foliage, such as eucalyptus and oak leaves. Since it's not watertight, it’s best suited for dry arrangements.

This twist makes your pumpkin both sculptural and seasonal, ideal for autumn displays or centrepieces. Style it with amber glass bottles, acorns, or beeswax candles for a natural, cosy touch.
FAQs
1. Can I reuse the tights for more pumpkins?
It’s best to use a new section for each one. Cement may damage or stain the fabric.
2. What kind of cement works best?
Quick-set cement or concrete mix designed for small crafts works well. Avoid anything with large gravel bits.
3. Can I use silicone moulds instead of tights?
You can, but tights and string give that classic handmade ridged look.
4. How do I stop the candleholder from sinking in too far?
Make sure the cement is thick and set your tealight insert gently. You can also wrap a rubber band below the lip of the insert to stop it sliding deeper.
5. Is it safe to burn candles directly in the cement pumpkin?
Yes, as long as your insert (tealight holder) is heat-safe and removable. Cement is fireproof, but the insert helps keep the wax mess-free.
Final Thoughts
Making your own cement pumpkins is a fun, tactile way to embrace the season — and they’ll last year after year. Minimal, handmade, and functional, they blend beautifully into your autumn décor. Pair them with our concrete trays and bowls from Botanical Blueprint for a complete, slow-made setup.


Comments