DIY Wax-Dipped Pinecone Ornaments for a Natural Christmas

A pinecone, a fine sparkly thread and a little wax: sometimes the simplest materials make the loveliest Christmas decorations. These wax-dipped pinecone ornaments keep the shape and texture of a woodland find, with just enough shimmer to catch the light.
Hang a few from a branch, mix them into your Christmas tree or tie one to a wrapped gift. You can leave the wax almost transparent for a natural finish, or build up a softer, frosted coating. A light sprinkle of glitter is entirely optional.

What you will need
Clean, completely dry pinecones; fine gold or silver hanging thread; candle-making wax suitable for dipping; a heat-safe pouring jug or dedicated wax-melting container; a saucepan for a water bath; a wax thermometer; a spoon or heat-resistant tongs; baking parchment; scissors; and a small amount of craft glitter, if wanted. Choose a container deep and wide enough for your pinecones.
Use wax with clear melting and handling instructions. Plain, unscented wax keeps this project simple. Some waxes set more translucent than others, so test one cone before preparing a whole batch. White wax does not always produce an opaque white coating after a single dip.
1. Prepare your pinecones
Brush away loose dirt and remove any damaged pieces. If you wash your pinecones, give them plenty of time to dry completely before dipping. Damp cones can close up, and moisture should not be introduced into hot wax. Start with open, dry cones for the clearest texture.
Cover your work surface with baking parchment and set up somewhere you can leave the ornaments undisturbed to harden. Keep the glitter and scissors away from your heat source.
2. Tie on the sparkly thread
Wind a length of fine metallic thread around the central stem beneath the upper scales, then tie it securely. Make a hanging loop and trim the ends. Give it a gentle tug to check that it holds before dipping.
Leave enough length to keep your fingers clear of the wax. Use tongs to support the cone if needed, rather than relying on a delicate thread to lift a heavy, wax-coated cone. Keep the hanging loop above the wax so it stays clean and flexible.
3. Melt the wax gently
Follow the wax supplier’s instructions for melting and dipping temperatures. If the wax is suitable for a water bath, place it in a dedicated heat-safe jug inside a saucepan of gently heated water, ensuring the container is stable and water cannot splash into the wax. Monitor the temperature with a thermometer.
Never heat wax directly over a flame or leave it unattended. Avoid boiling the water. Hot wax can burn, so keep children and pets away from the melting and dipping area. Never pour water onto burning wax.
4. Dip and let the excess drip away
Lower one pinecone slowly into the melted wax, keeping the hanging loop clear. Lift it out and hold it over the container while the excess drips off. Turn it gently to help prevent a thick pool forming at the bottom.
Set it on baking parchment to cool. For a thicker, frosted effect, allow the first coat to set before dipping again, following the wax supplier’s temperature guidance. Build the finish gradually: too much wax can fill the gaps and hide the scales.
For a lighter finish, try dipping only part of the cone, or spooning a little wax over selected scales. Make one test ornament first so you can judge the colour and coverage once it has cooled.
5. Add a little sparkle
While the coating is still soft and tacky, sprinkle a small amount of glitter over the tips. Work over a folded sheet of paper so you can collect the excess. If the wax has already hardened, another thin dip gives you a fresh surface for the glitter.
For a quieter Botanical Blueprint look, pair a silver thread with a light dusting of sparkle and plenty of visible brown pinecone. An ivory finish with fine gold thread is another lovely option. You can also skip the glitter altogether and let the hanging thread provide the shine.
6. Leave to harden
Let the ornaments cool completely before handling or hanging. Check that each loop is secure and remove any loose glitter over your covered work surface. Keep them somewhere cool while the wax finishes setting, following the supplier’s guidance.
How to style your pinecone ornaments
On the tree: group a few cones among the branches with simple glass baubles and velvet ribbon. Leave space around each one so the shape remains visible.
On a branch: hang three or five at different heights from a bare branch for a simple seasonal display against a pale wall.
On a gift: tie a small cone onto ribbon around a paper-wrapped present. Keep it clear of delicate fabric or unprotected surfaces that could mark.
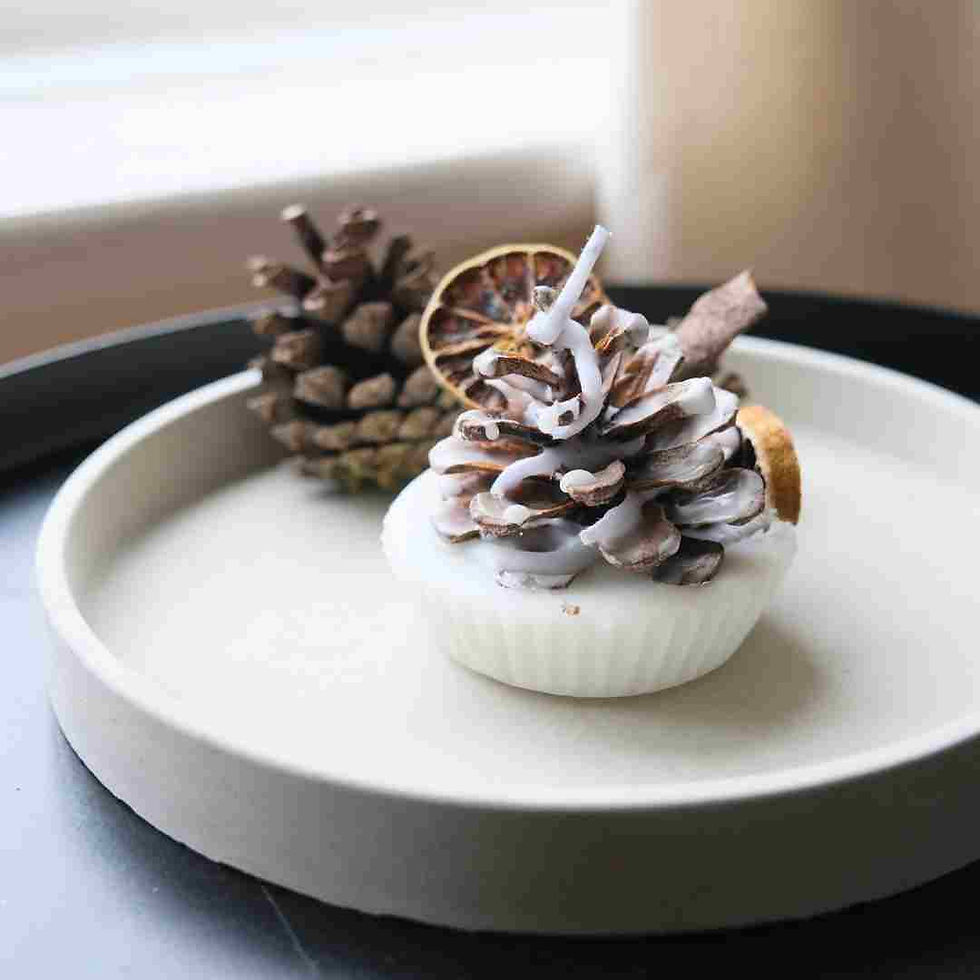
On the table: arrange a few on a ceramic tray with dried orange slices and ribbon. Keep the display well away from candles, fireplaces and other heat sources.
Frequently asked questions DIY Wax-Dipped Pinecone Ornaments
Can I use leftover candle wax?
Wax sold for dipping, with clear instructions, is the more predictable starting point. Leftover candles can contain different wax blends, dyes and fragrances, so their melting behaviour and finish may vary. Remove any wick, wick tab and debris, and only reuse wax if you know what it is and have suitable handling guidance.
Do I need to add fragrance?
No. These ornaments work beautifully as an unscented decoration. There is no need to add essential oils or fragrance to get the effect.
Why is my coating patchy or too thick?
Coverage depends on the wax, dipping temperature and the cone’s shape. Check the supplier’s recommended temperature, allow excess wax to drain and test thin coats before adding more. A slightly uneven finish can suit the natural texture.
How should I store them?
Once fully set, wrap the ornaments separately in tissue or baking parchment and store them in a rigid box somewhere cool and dry. Avoid hot lofts, direct sunlight and pressure on the coated scales.
Can these be used as fire starters?
Treat this version as decoration only. It includes hanging thread and optional craft glitter, and is not intended for burning.
More natural Christmas craft ideas
If you enjoy working with simple seasonal materials, try making orange pomander balls for a different texture and a naturally fragrant festive display. Combine the two projects with paper gift tags and velvet ribbon for a Christmas scheme you can build gradually.
Looking for other creative things to do with pinecones? Try our pinecone fire starters with herbs and wax — another seasonal project to make for yourself or give as a handmade gift. Follow that separate tutorial for fire starters; the glittered ornaments here are for decoration only.


Comments