How to Make Coffee Ground Clay: A Sustainable DIY for Home Decor
- Astrid van Essen
- Nov 3, 2025
- 3 min read

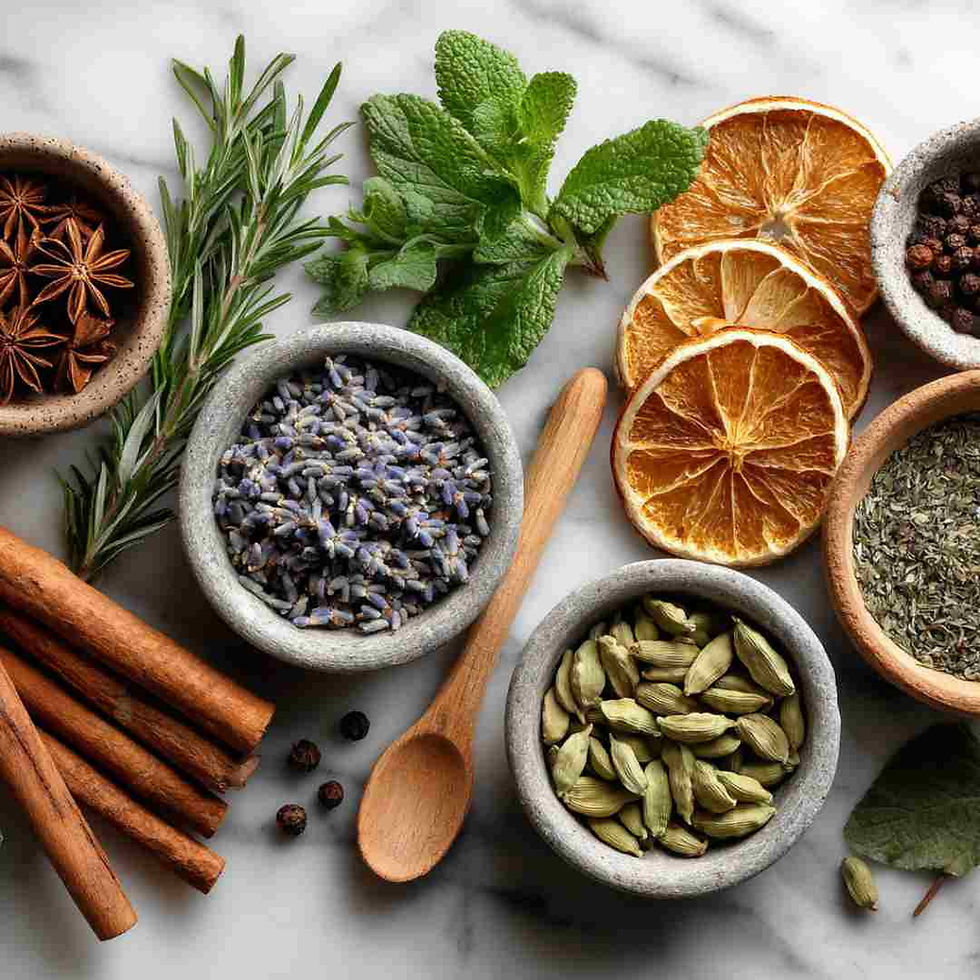
I recently came across a Pinterest post about coffee ground clay and instantly wanted to try it myself. I use a lot of coffee at home, and the idea of turning those leftover grounds into something sculptural really appealed to me — it felt like the perfect mix of creativity and sustainability.
However, most tutorials I found didn’t mention the two biggest challenges: mould and cracking. After conducting a few experiments, I’ve learned what works and how to create a batch that actually yields results.

Why Use Coffee Grounds in Clay?
Coffee grounds add a beautiful natural texture and a subtle earthy scent. They also reduce waste and give handmade items a rustic, stone-like appearance — perfect for decorative trays, incense holders, or ornaments.
Smooth, Low-Crack Coffee & Cornstarch Clay Recipe
You’ll need:
1 cup dried coffee grounds
½ cup cornstarch (cornflour)
½ cup plain flour
½ cup salt
¾ cup water
Optional: 1 tablespoon white glue or natural starch paste
Instructions:
Dry your coffee grounds – Spread them out and bake at 100°C for 15–20 minutes to remove moisture.
Mix dry ingredients – Combine the coffee, flour, salt, and cornstarch.
Add water gradually and stir until a soft dough forms.
Knead well – for approximately 5–7 minutes, until smooth.
Shape – Roll, cut, or press into moulds.
Air-dry slowly – Leave on baking paper for 48–72 hours. Turn occasionally for even drying.
Optional bake – Finish in the oven at 100°C for an hour to harden.
Seal – Once dry, coat with eco varnish, beeswax polish, or diluted PVA.
Preventing Cracks
Cracking usually occurs when your clay dries too quickly or is too thick.
Keep shapes even (no more than 1–1.5 cm thick).
Air-dry naturally instead of rushing with heat.
Smooth small fissures with a wet fingertip while still soft.
Add a binder (such as cornstarch or glue) for elasticity.
Avoiding Mould
Because coffee is organic, it can develop mould if trapped moisture remains.
Ensure the coffee grounds are completely dry before mixing.
Store unused dough in the fridge, tightly sealed.
After drying, always seal your pieces — this locks out moisture and gives a finished look.
Creative Ways to Use Coffee Clay
Try shaping:
Minimalist incense holders
Small bowls for trinkets
Hanging ornaments with natural twine
Textured discs for stamping or display
The final colour is a rich, warm brown — almost like aged stone — and each piece has a faint coffee aroma that fades over time.
1. If you enjoyed this coffee clay project, you might also like:👉 How to Make Papier Mâché with Flour and Water — A simple, natural recipe for crafting eco-friendly ornaments and decorations.
2. Explore more sustainable craft ideas:👉 DIY Papier Mâché Christmas Baubles — Learn how to make festive decorations using moulds or cookie cutters.
3. Using coffee as a natural dye:👉 How to Waterproof Your Papier Mâché Creations — Tips on sealing, varnishing, and protecting handmade crafts.
Final Thoughts
This project reminded me how simple materials can be transformed with a little patience and creativity. Pinterest may have given me the idea, but the real satisfaction came from adjusting the recipe and finding what works in my own kitchen.
If you try making your own coffee-ground clay, take it slow, dry gently, seal thoroughly, and embrace a few natural imperfections. That’s what gives each piece its charm.
How to Make Coffee Ground Clay: Frequently Asked Questions
1. Why is my coffee ground clay cracking?
Cracks appear when the clay dries too quickly or unevenly. To prevent this, keep the pieces thin and consistent, air-dry slowly in a cool room, and avoid placing them near direct heat. Adding a small amount of cornstarch or glue can improve flexibility.
2. How do I stop mould forming on coffee clay?
Make sure the coffee grounds are completely dry before mixing. Once your pieces are shaped, allow them to dry completely before sealing with eco-varnish, beeswax, or diluted PVA. If you’re storing unused dough, refrigerate it in an airtight container.
3. Can I bake coffee-ground clay in the oven?
Yes — once air-dried for at least 24 hours, you can bake your pieces at 100°C for around an hour. This helps remove remaining moisture and harden the clay. Avoid exposure to higher temperatures to prevent warping or cracking.
4. How strong is coffee-ground clay?
It’s durable enough for decorative items, such as ornaments, incense holders, or small bowls, but it’s not waterproof and is not suitable for heavy use. Sealing helps strengthen and protect the surface.
5. How long does coffee clay last?
Properly dried and sealed, coffee-ground clay can last for years as a decorative piece. Keep it away from moisture and direct sunlight to preserve colour and texture.


Comments